Whenever you imagine an outdoor kitchen for your courtyard or garden, do you still think that it takes weeks of planning, a specialized contractor and several days of construction? Absolutely not! We can assure you that this is not the case at all! Indeed, modular steel kitchens allow a very simple assembly and installation, that you can do in a few hours during the day. And anyway, if you really don’t want to do this alone, you can always call one of our technicians who will help you with the installation. Here we give you all the tips on how to install a steel modular outdoor kitchen. With commitment and passion, it can take you as little as 8 hours.
Choice of kitchen layout
Before proceeding with the installation, a few words on the choice of outdoor kitchen layout.
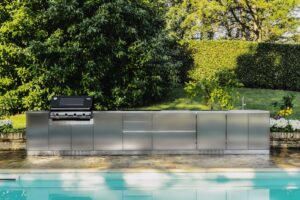
If you are not planning to install any plumbing on your pool terrace, we recommend you choose a design without a sink. Opt for outdoor kitchens with a grill, an outdoor fridge, a pull-out basket and a double drawer cabinet, so that everything you need is at hand for barbecues. With this type of solution, you will also have extra space for guests, especially if you add a bar island.
When all the material arrives at your home, start assembling
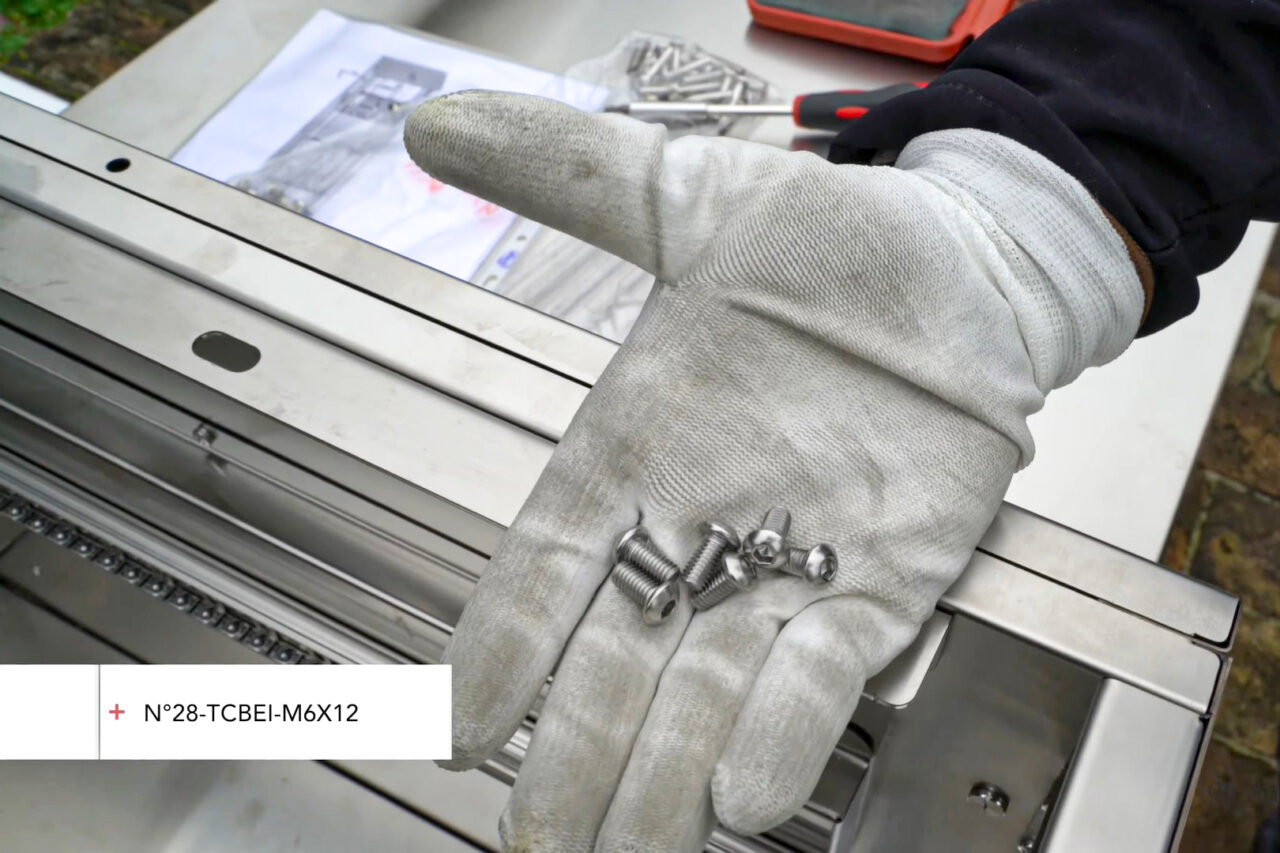
Once you have chosen your ideal kitchen, everything will be delivered to your home, in a timely manner, on pallets to be assembled together. Taken aback, initially maybe you could ask for the help of some friends or relatives, because it is easy to feel unsure of the work to be done during installation. Bu then, once you see the pieces to be assembled, you will realize how easy the operation will be. Totally doable: it only takes two people at most. Basically, it’s all about following the instructions (which you can also find on our website, within the “Catalog” section – Video fitting instructions), to first build 3 sides of the “box” for the grill island.
Place outdoor appliances and storage components
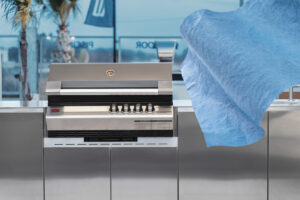
One by one, always following the instructions, place the already assembled outdoor appliances and storage components, fixing them to the island frame with the supplied screws. After placing all the components, try sliding the suspended ceilings into position along the notches at the top of the island frame. Do the same for the possible bar island in the cabinet. The entire kitchen installation should not require tools other than a screwdriver or drill. You will also find everything supplied for the DIY, when the modular kitchen will be delivered to you. For our example we took a kitchen made of durable marine steel composite with steel appliances: an outdoor kitchen that basically uses low-maintenance materials.
The pros and cons of DIY installation
And finally, here are all the advantages, in pills, of a DIY installation for your modular outdoor kitchen.
- Faster installation than a typical outdoor kitchen (in a few hours);
- Cheaper than a traditional outdoor kitchen as there is no need for a carpenter, mason or any other contractor;
- Lightweight material to facilitate lifting during assembly;
- Durable and quite heavy to withstand harsh climate;
- Made to fit top of the line appliances;
- The materials are low maintenance;
- The kitchen has a modern and elegant look.